Marlon - Creative Agency WordPress Theme
Thank you for your purchase! If you have any questions that you feel should have been in this document, please send a message to support@jellythemes.com with your feedback. Thanks so much!
Theme Features
- Ultra Responsive
- One Page & Multi Page
- Retina ready
- Neat and clean design
- Predefined Color Styles
- Modularity
- Clean Code
- Sticky Navigation
- Filterable Photo Gallery
- Documentation
- Browser Compatibility
Theme Instructions Setup
Installation Setup
In order to use this theme, you must run a stand-alone installation of WordPress and not have a free subdomain at wordpress.com. Once you have the zip archive ready, you need to go to your dashboard, which is http://yourwebsite.com/wp-admin and go to Appearance > Themes > Install Themes and, in the top menu, select Upload. Now, select the zip archive and just install it normally.
If the above solution fails due to any reason, upload the theme manually via FTP and then go to Appearance > Themes to enable it manually. If you don't know how to upload the theme via FTP, check Uploading themes via FTP. For further help, you can also read Using themes
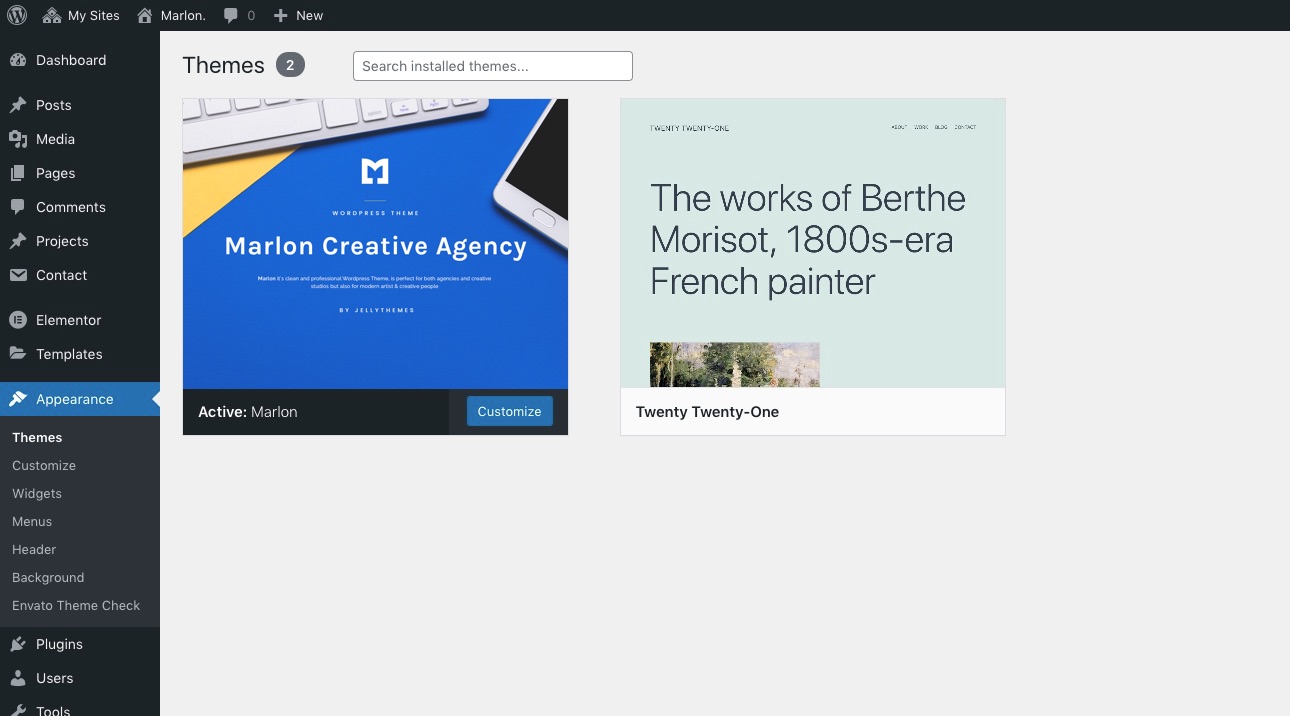
Activation
Activate Theme
Installing Elementor, Kirki Toolkit, Marlon Core, Marlon Elementor and Meta Box
After activation, will need to install all plugin requirements (included in plugins folder). For do it, click on "Begin installing plugin", and activate it.
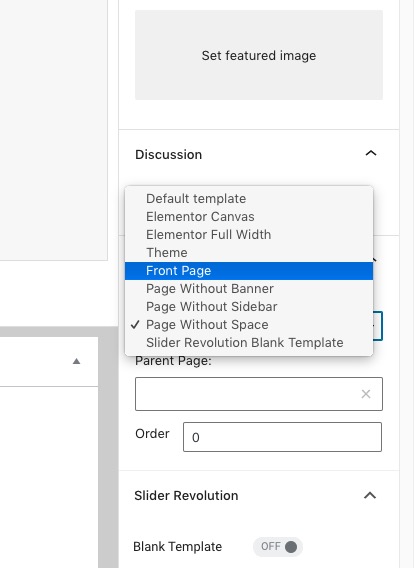
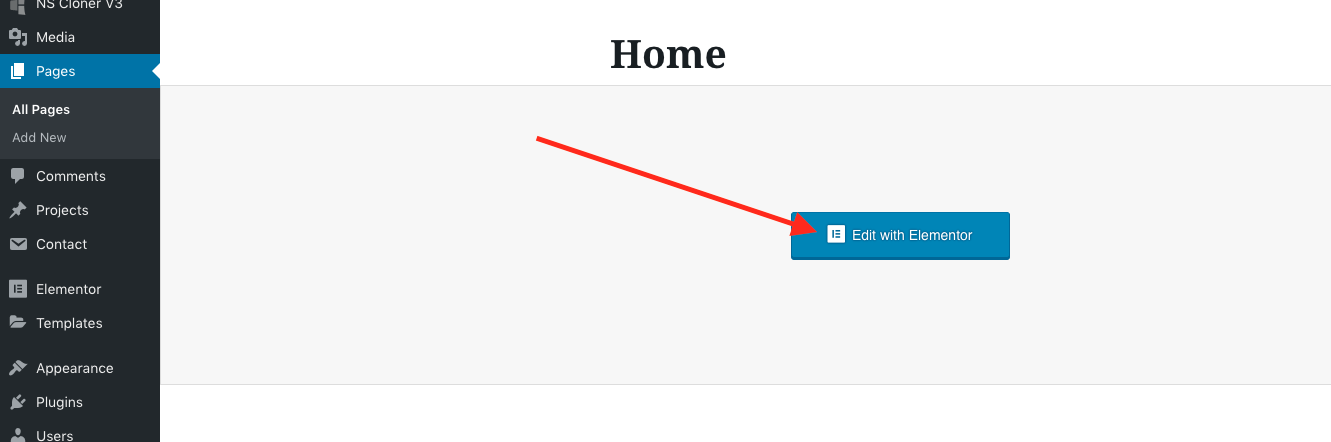
Now need to create a new page and set as HOME, go to Pages > Add new, enter the title "Home" and select "Front Page" on the Template dropdown menu (at right column of the page) and Publish. For set our HOME page as a Homepage go to Settings > Reading, select a "static page (select below)" and "Front page: Home", and save changes.
Loading XML file and Importing samble data
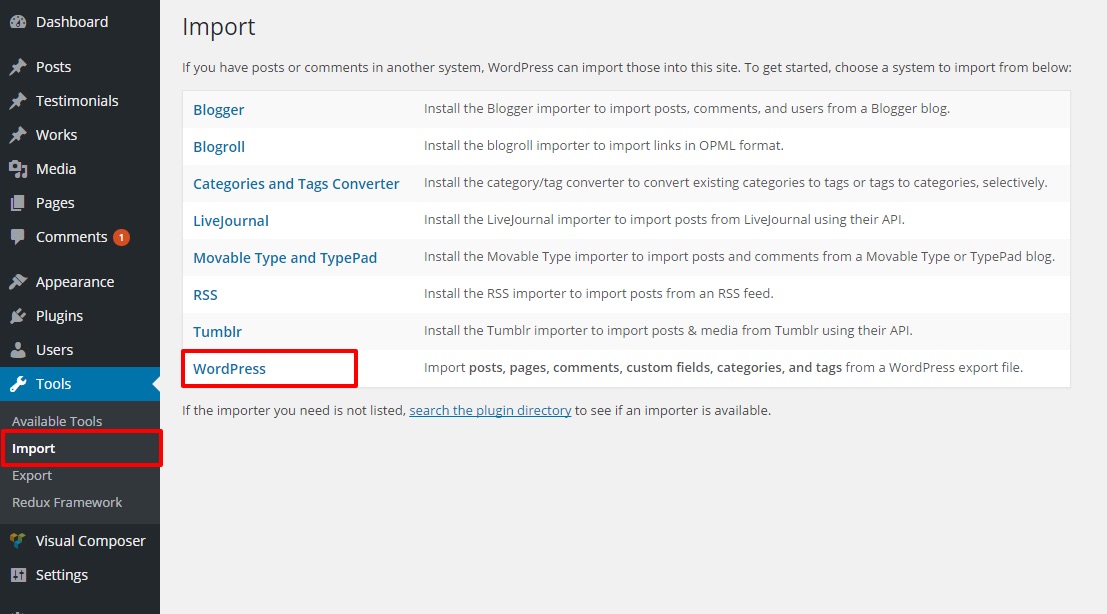
We recommend to load the XML file "marlon-demo-data.xml" attached with the theme (folder marlon > Sample Data > marlon-demo-data.xml), select Tools > Import, and click on WordPress (Import posts, pages, comments, custom fields, categories, and tags from a WordPress export file.) and select the XML file located on you computer, in the marlon Theme folder. NOTE: is necessary to install and active the WodrPress Importer
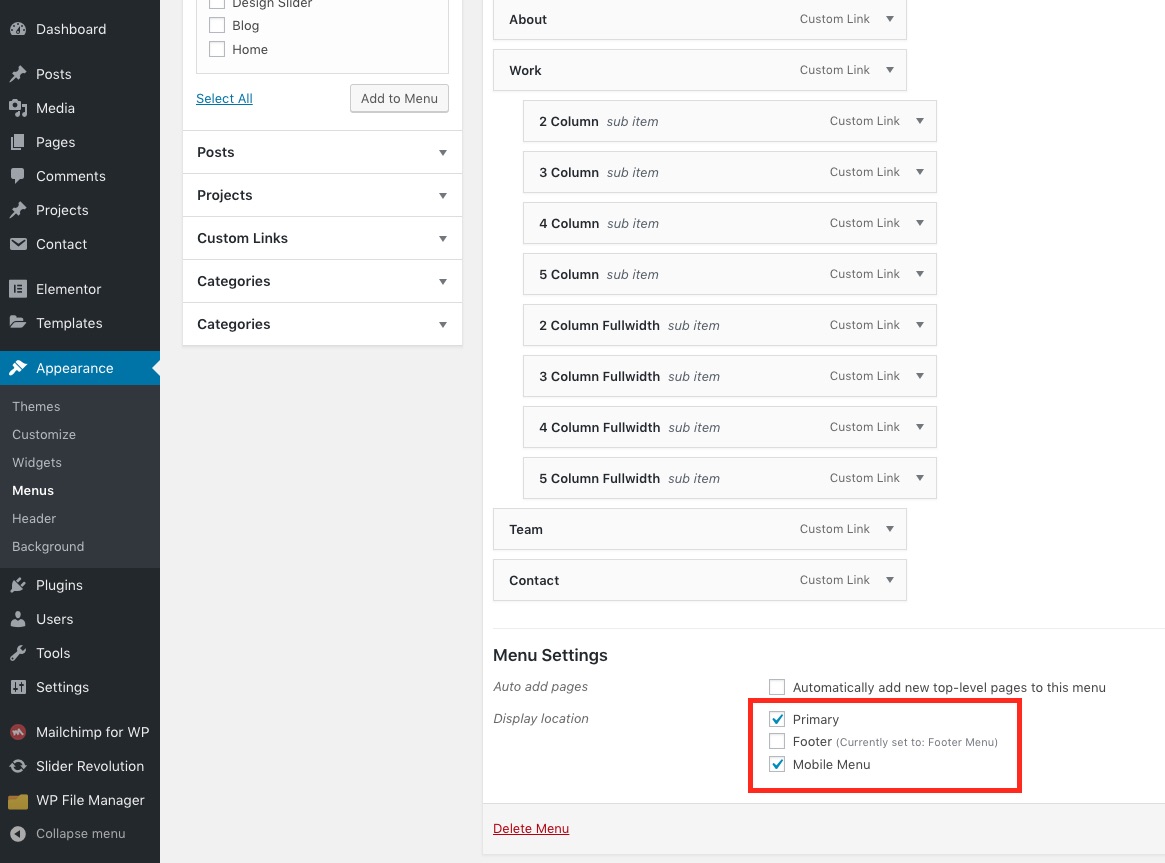
When the XML content is loaded successfully, need to activate de Main Menu, go to Apparence > Menus, and set the menu as a Main menu using the checkbox of Menu Settings list / Theme locations / Main Menu.
Blog
For set the blog page, go to Settings > Reading, and select Blog on the "Post page:" dropdown menu.

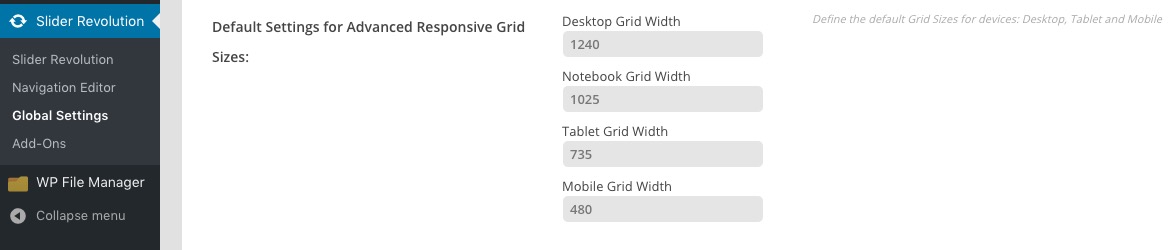
Import Slider Revolution
Please go to wp-admin > Slider Revolution > Global Settings > add the same Default Settings for Advanced Responsive Grid Sizes as on Screenshot.
Please follow this guide to import Revolution Slider.
You can find Slider demo archive (fullscreen.zip) is in inside of Sample Data folder.
Contact Form 7
Please go to wp-admin > Contact > Add New Form.
Name your form "Contact form 1" and add to Form the code below:
[text* your-name placeholder "Your Name"] [email* your-email placeholder "Your E-mail"] [textarea your-message placeholder "Your message"] [submit "Send Message"]
Now open a page in "Edit with Elementor" mode, add any of these Elementor's elements: "Marlon > Contact Info with Form", "Marlon > Contact Info with Map / Image".
Now select "Contact Form 1":
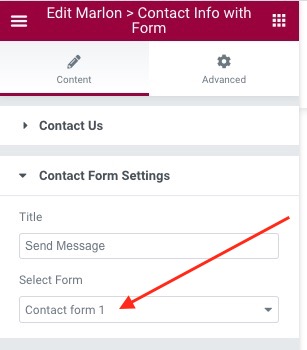
For more info check this guide.
Mailchimp Newsletter
Install "MC4WP: Mailchimp for WordPress" plugin.
Go to https://mailchimp.com/ register, get the API key and add it to wp-admin > Mailchimp for WordPress > Mailchimp > add API Key.
After go to Form and add this code:
<input type="email" name="EMAIL" placeholder="EMAIL"> <button type="submit"><i class="fa fa-long-arrow-alt-right"></i></button>
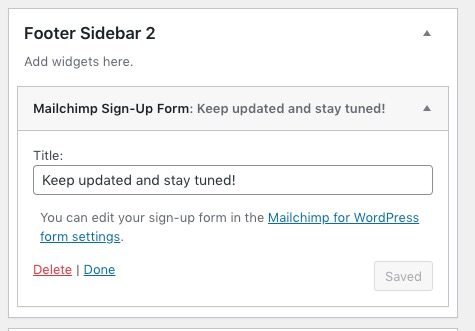
Now go to Appearance > Widgets, find "Mailchimp Sign-Up Form" widget and add it to "Footer Sidebar 2":
How to use this theme?
We provide all the information on how to use the theme with our shortcodes below. Please read carefully, this will help you to use our theme in a proper way.
Setup Multipage Version
Multiple Page
- Please create Pages as Page Attributes > Template > select, for example, Front page.
- Fill them with any content (preferably with Elementor elements).
- Now go to Appearance > Menus > Create a New Menu.
- Pages > Choose some Pages you've created on step 1 > Click Add to Menu.
- Set Display location to Primary.
Page Templates
We provide several templates with different styles to choose from: Elementor Canvas, Elementor Full Width, Theme, Front Page, Page Without Banner, Page Without Sidebar, Page Without Space, Slider Revolution Blank Template.
To choose a template you need to go to Add New Page/Edit Page > Page Attributes > Template.
Theme
Default theme page template.
Front Page
Front page theme tempalate.
Page Without Banner
If you don't want to show Top Banner.
Page Without Sidebar
If you don't want to show Sidebar.
Page Without Space
Fullwidth page template without left and right margins.
Elementor Canvas
The Canvas Page Template removes your Header and Footer and Sidebars.
Elementor Full Width
The full width page template allows you to override the default page width and use a full width design on any theme.
Slider Revolution Blank Template
If you want to show Slider Revolution without header/menu/footer then choose this template.
Jellytheme's Elementor Elements
Marlon Services (List)
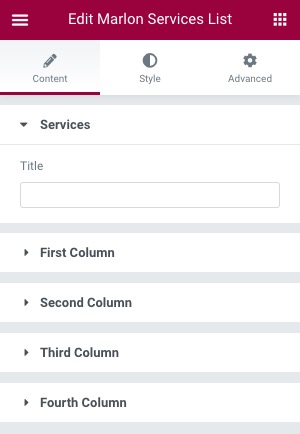
- Title: Enter a title.
- First/Second/Third/Forth Column: Add a new item + specify Title.
Marlon Services (Grid)
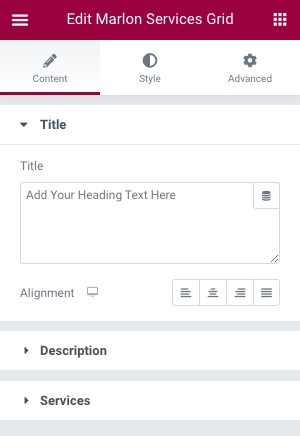
- Title/Alignment: Enter a text + select an alignment.
- Description: Enter a text.
- Services: Add a new item + specify Name/Content + select Icon + choose Text/Background Color.
Marlon About
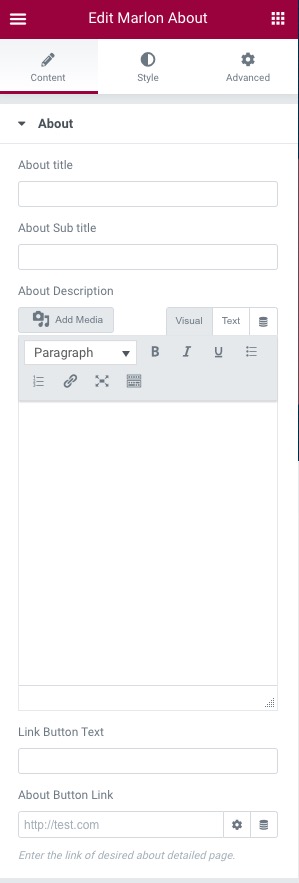
- About (sub)title: Enter a (sub)title.
- About Description: Enter a description text.
- Link Button Text: Enter button text in the description.
- About Button Link: Enter the link of desired about detailed page.
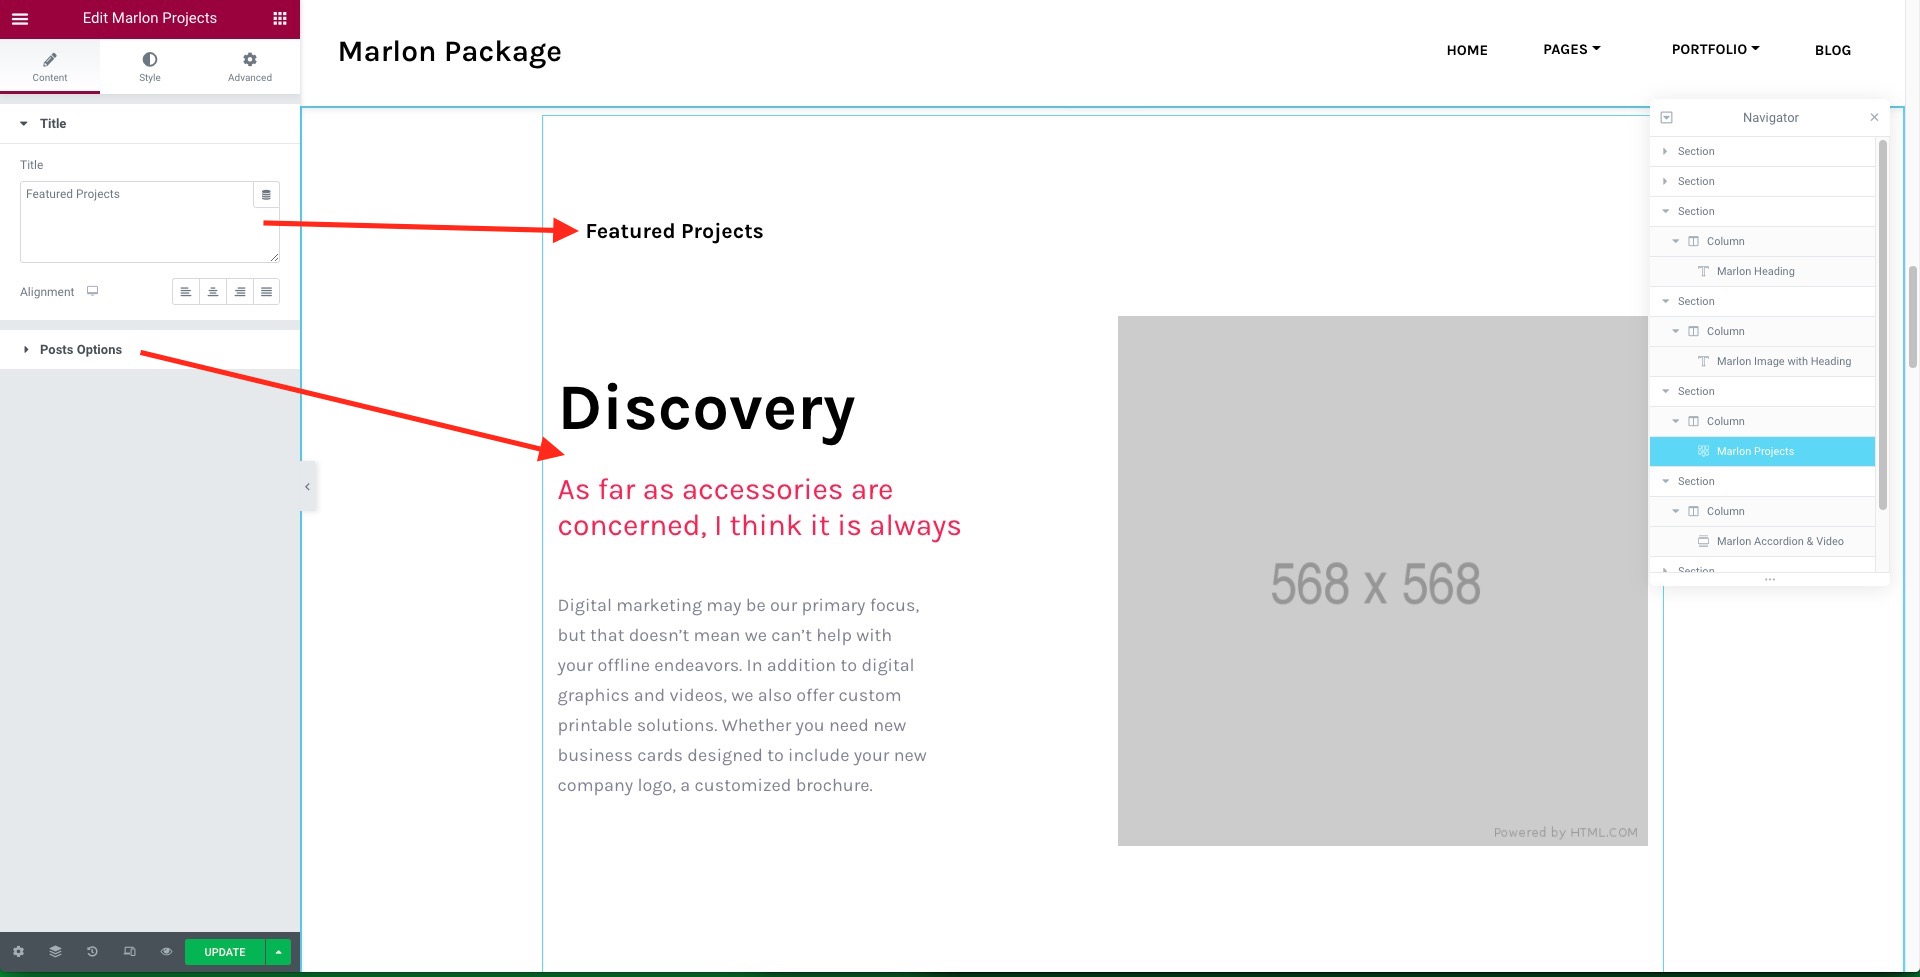
Marlon Projects
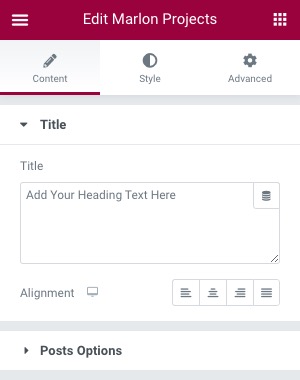
- Title/Alignment: Enter a text + select an alignment.
- Query Settings: Select a category + specify Number of Posts and Order + select Posts by ID.
Marlon Projects (Masonry)
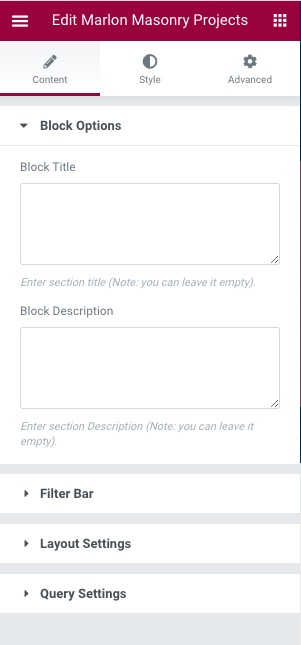
- Block Title: Enter section title (Note: you can leave it empty).
- Block Description: Enter section Description (Note: you can leave it empty).
- Filter Bar: Enable Show Category Filter + specify All Categories button text.
- Layout Settings: Select a number of columns or Desktop/Tablet/Mobiles.
- Query Settings: Enbale Show Vertical Image + specify Number of Posts and Order + select Posts by ID.
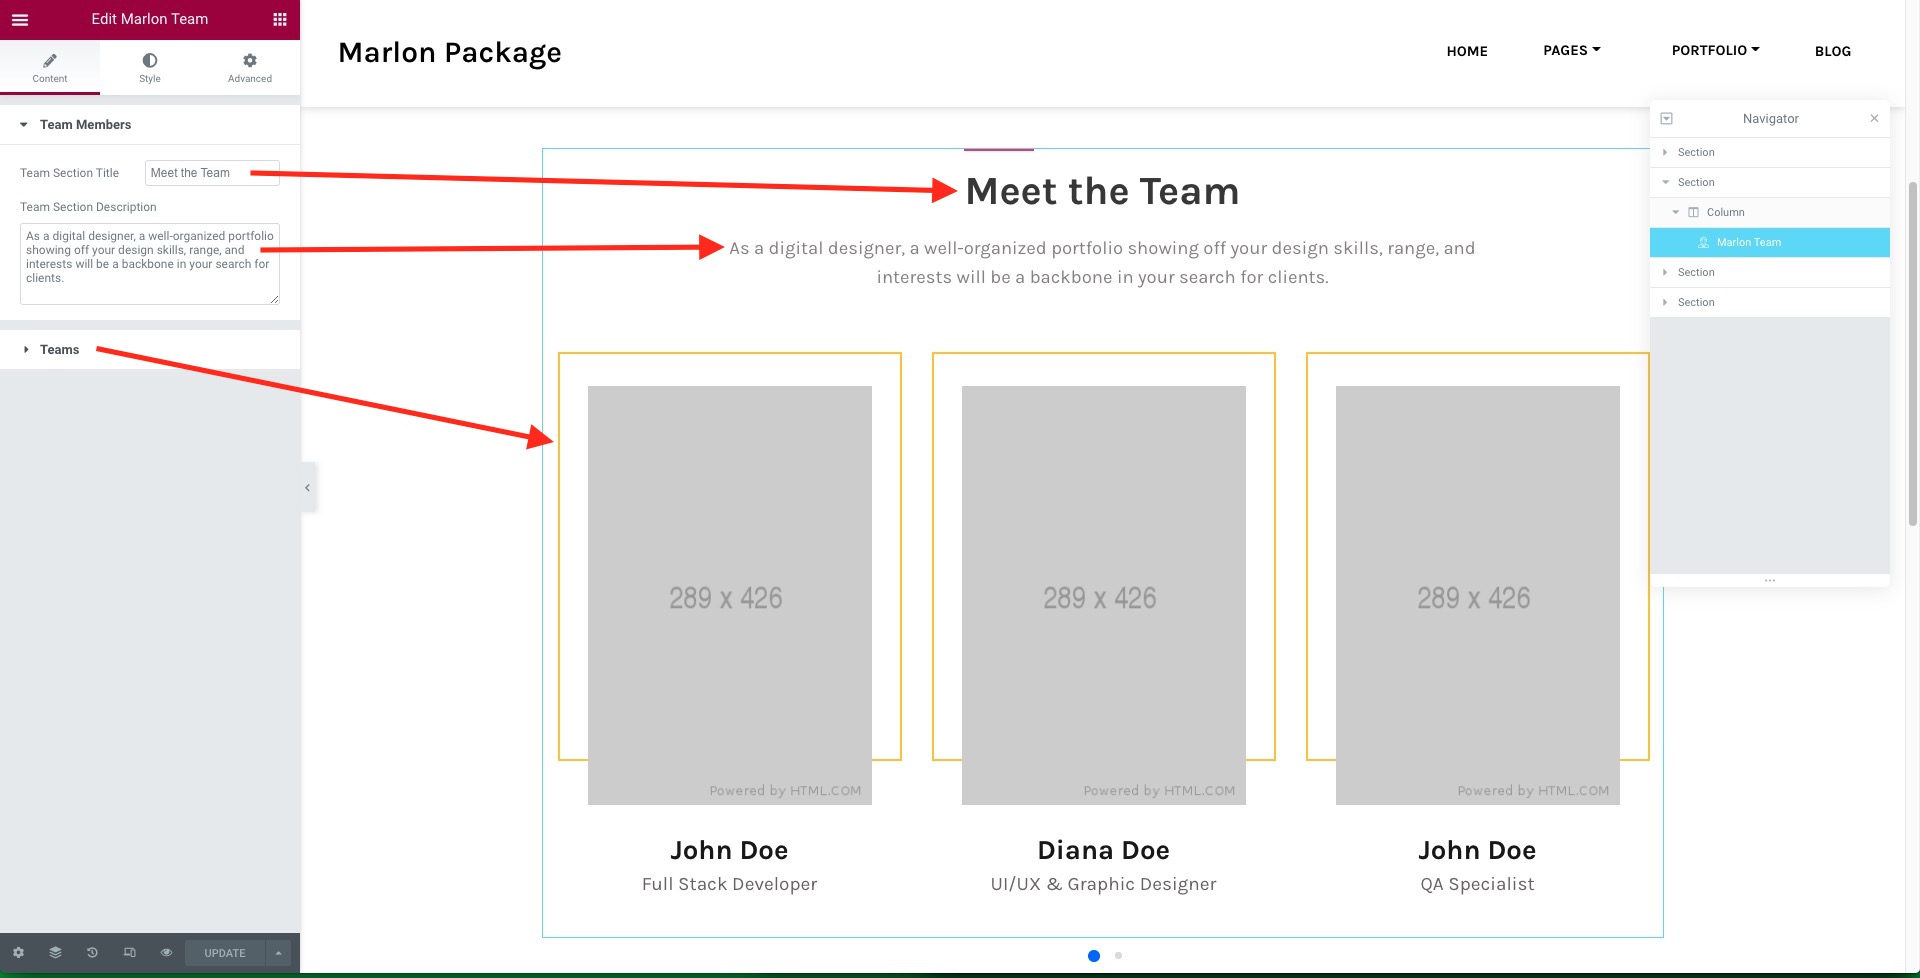
Marlon Team
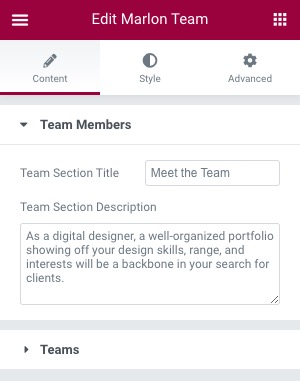
- Team Section Title: Enter a title.
- Team Section Description: Enter a description text.
- Teams: Press +ADD-ITEM to add a team member.
- Member Name: Enter the Name of Team Member.
- Member Image: Upload the photo of Team member.
- Member Position: Enter the position of Team Member.
- Social Icons: Add Social Links to member's profiles.
- Profile Link: Enter the profile link of Team Member against selected above.
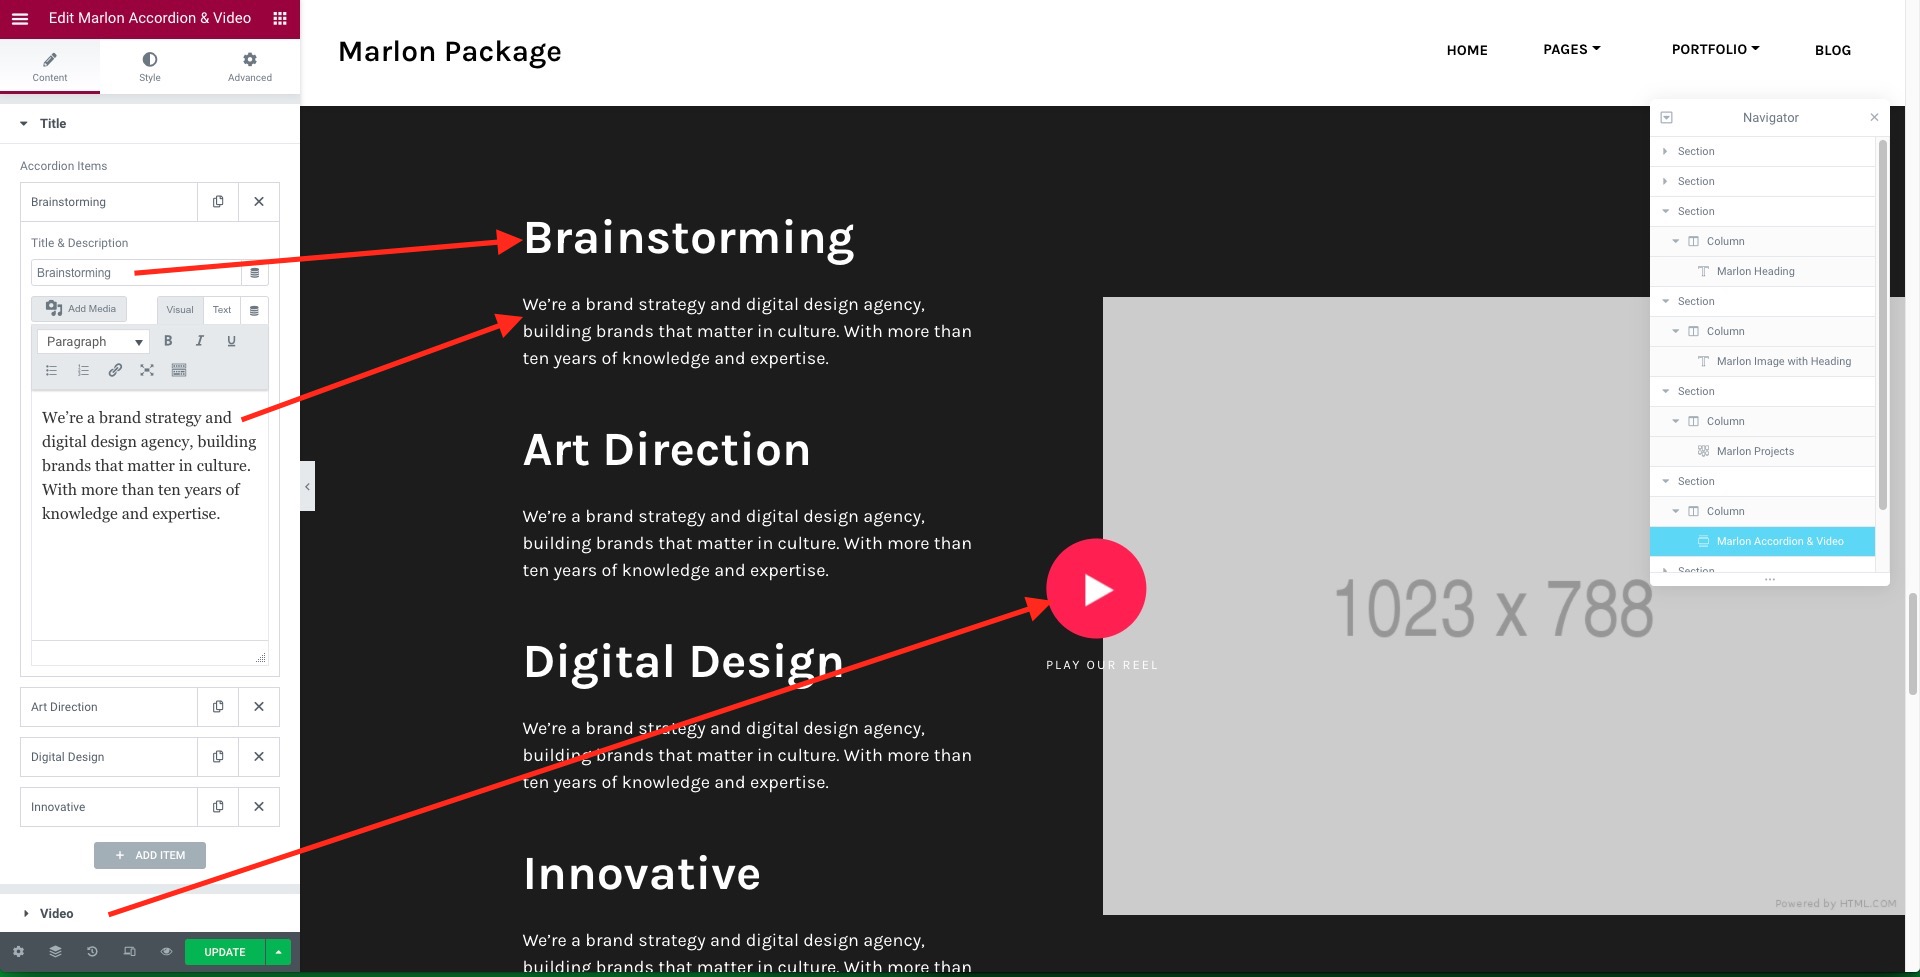
Marlon Accordion & Video
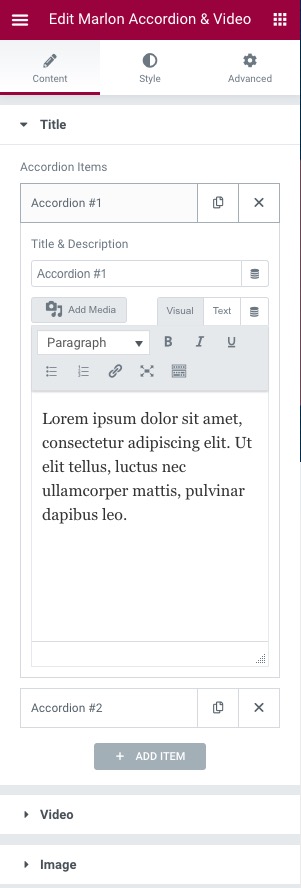
- Title: Add a new item + specify Title&Description.
- Video: Enter Link/Title.
- Image: Select an image + enable Play Icon (select Player Icon Image).
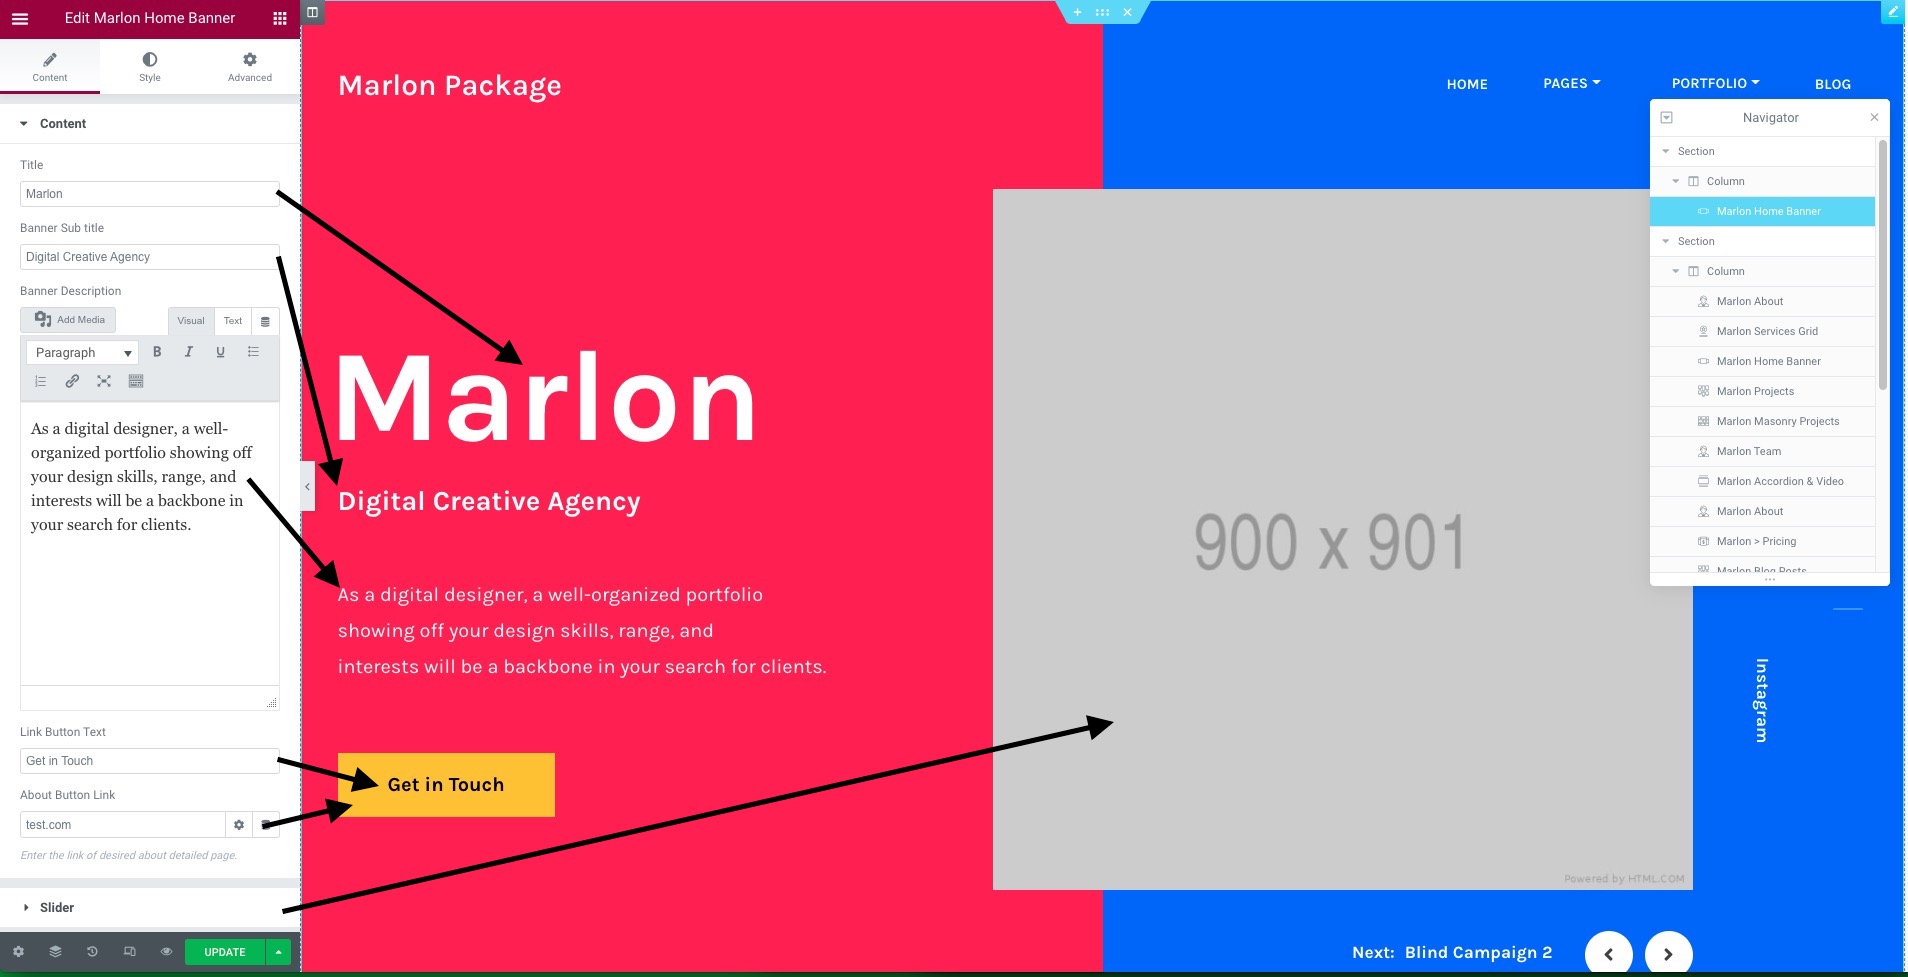
Marlon Home Banner
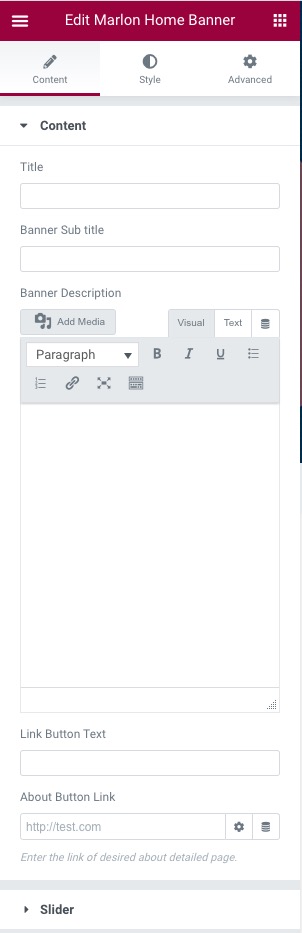
- Content: Enter (Sub)Title/DescriptionButton Text&Link.
- Slider: Add a new item + specify Title + select Image.
- Social Links: Add a new item + specify Label/Link + select an icon.
Marlon Pricing
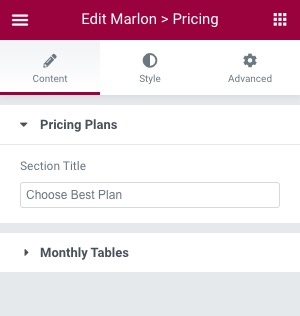
- Pricing Plans: Enter a section title.
- Monthly Table: Add an item + Enter a Title/Currency/Duration/Content/Button + Select Color options.
Marlon Blog
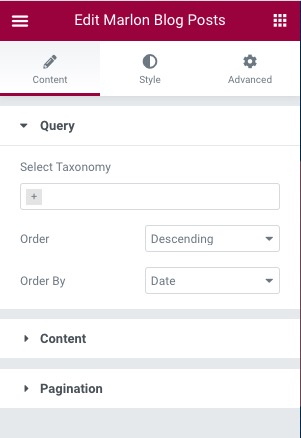
- Query: Select a taxonomy, order.
- Content: Select/Deselect content to show on blog posts.
- Pagination: Enable it + Enter a number or posts to show.
Marlon Counter
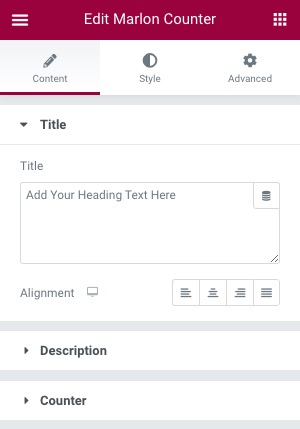
- Title/Alignment: Enter a text + select an alignment.
- Description: Enter a text.
- Button: Enable it, add Text + Link.
- Counter: Add a new item + specify Title, Counter, Text/Number/Background Color.
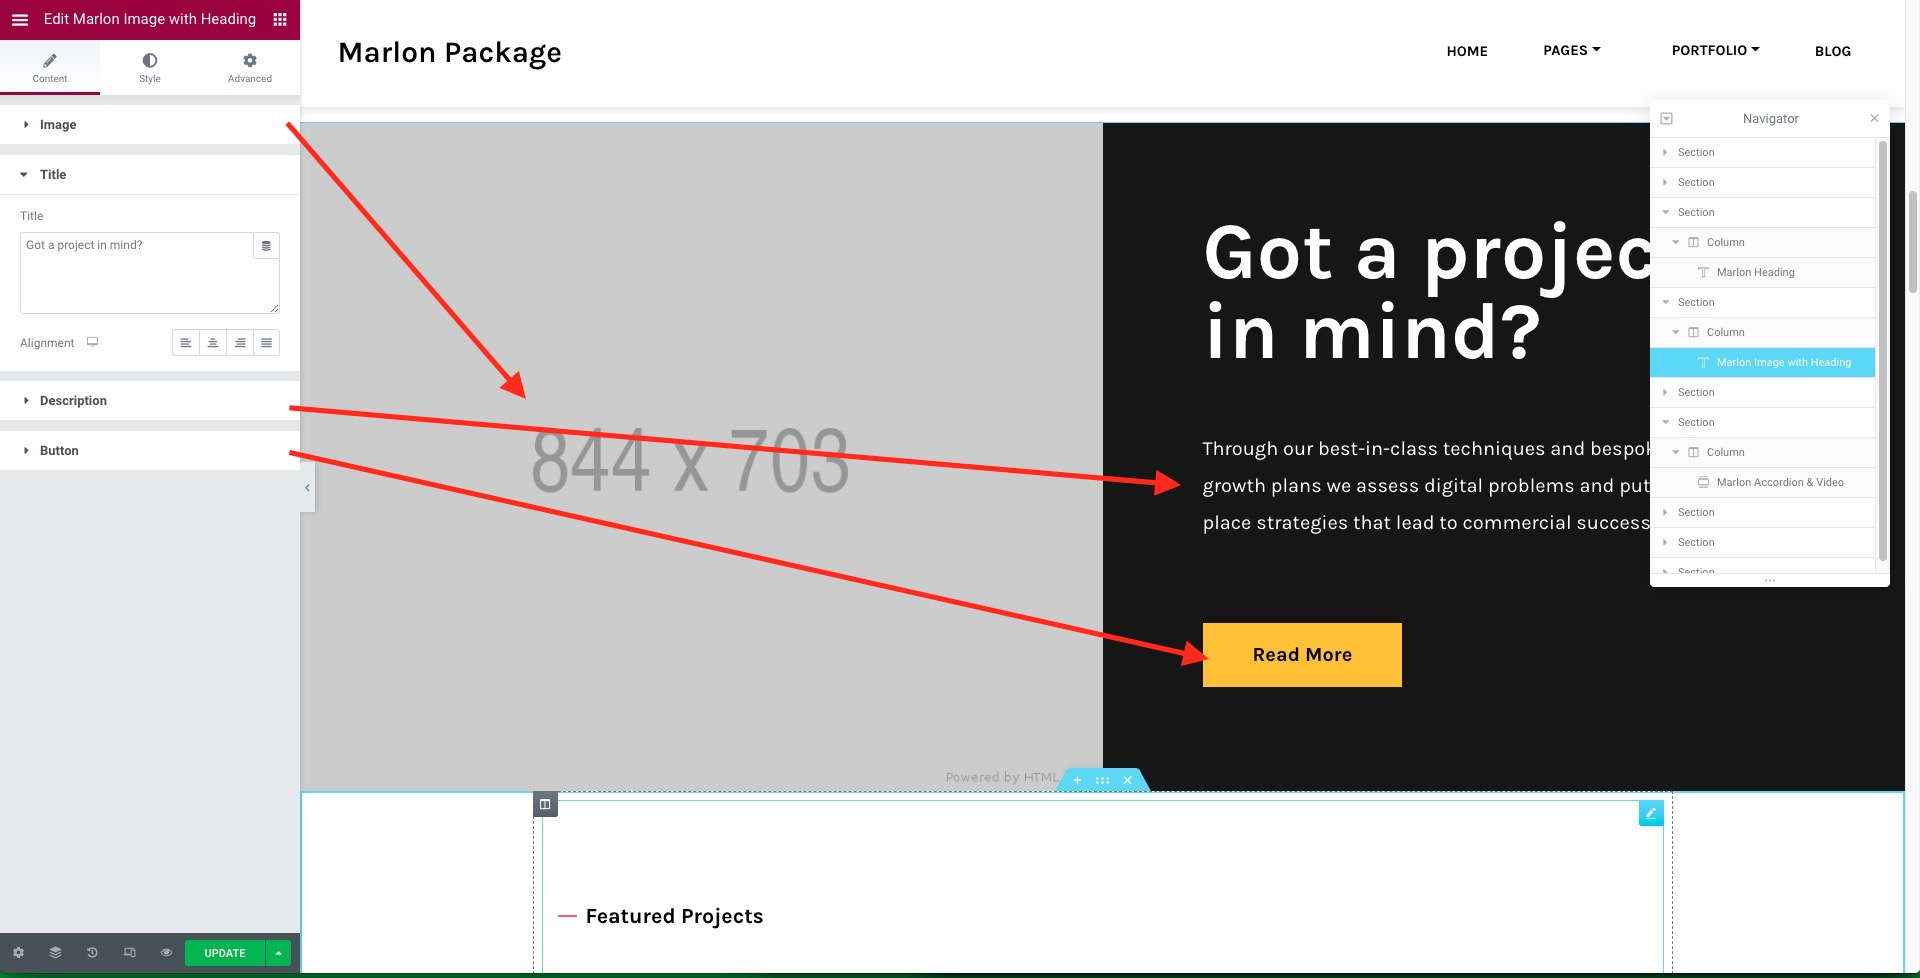
Marlon Image with Heading
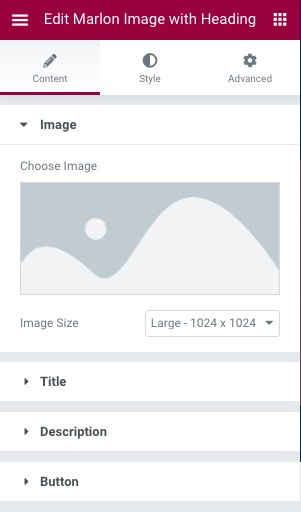
- Image: Select an image + Image Size.
- Title/Alignment: Enter a text + select an alignment.
- Description: Enter a text.
- Button: Enable it, add Text + Link.
Marlon Work Together
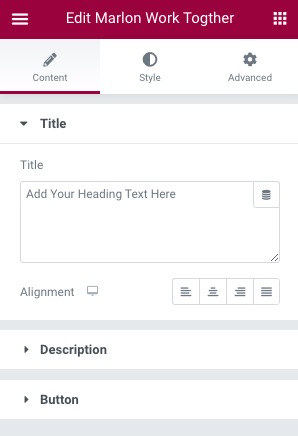
- Title/Alignment: Enter a text + select an alignment.
- Description: Enter a text.
- Button: Enable it, add Text + Link.
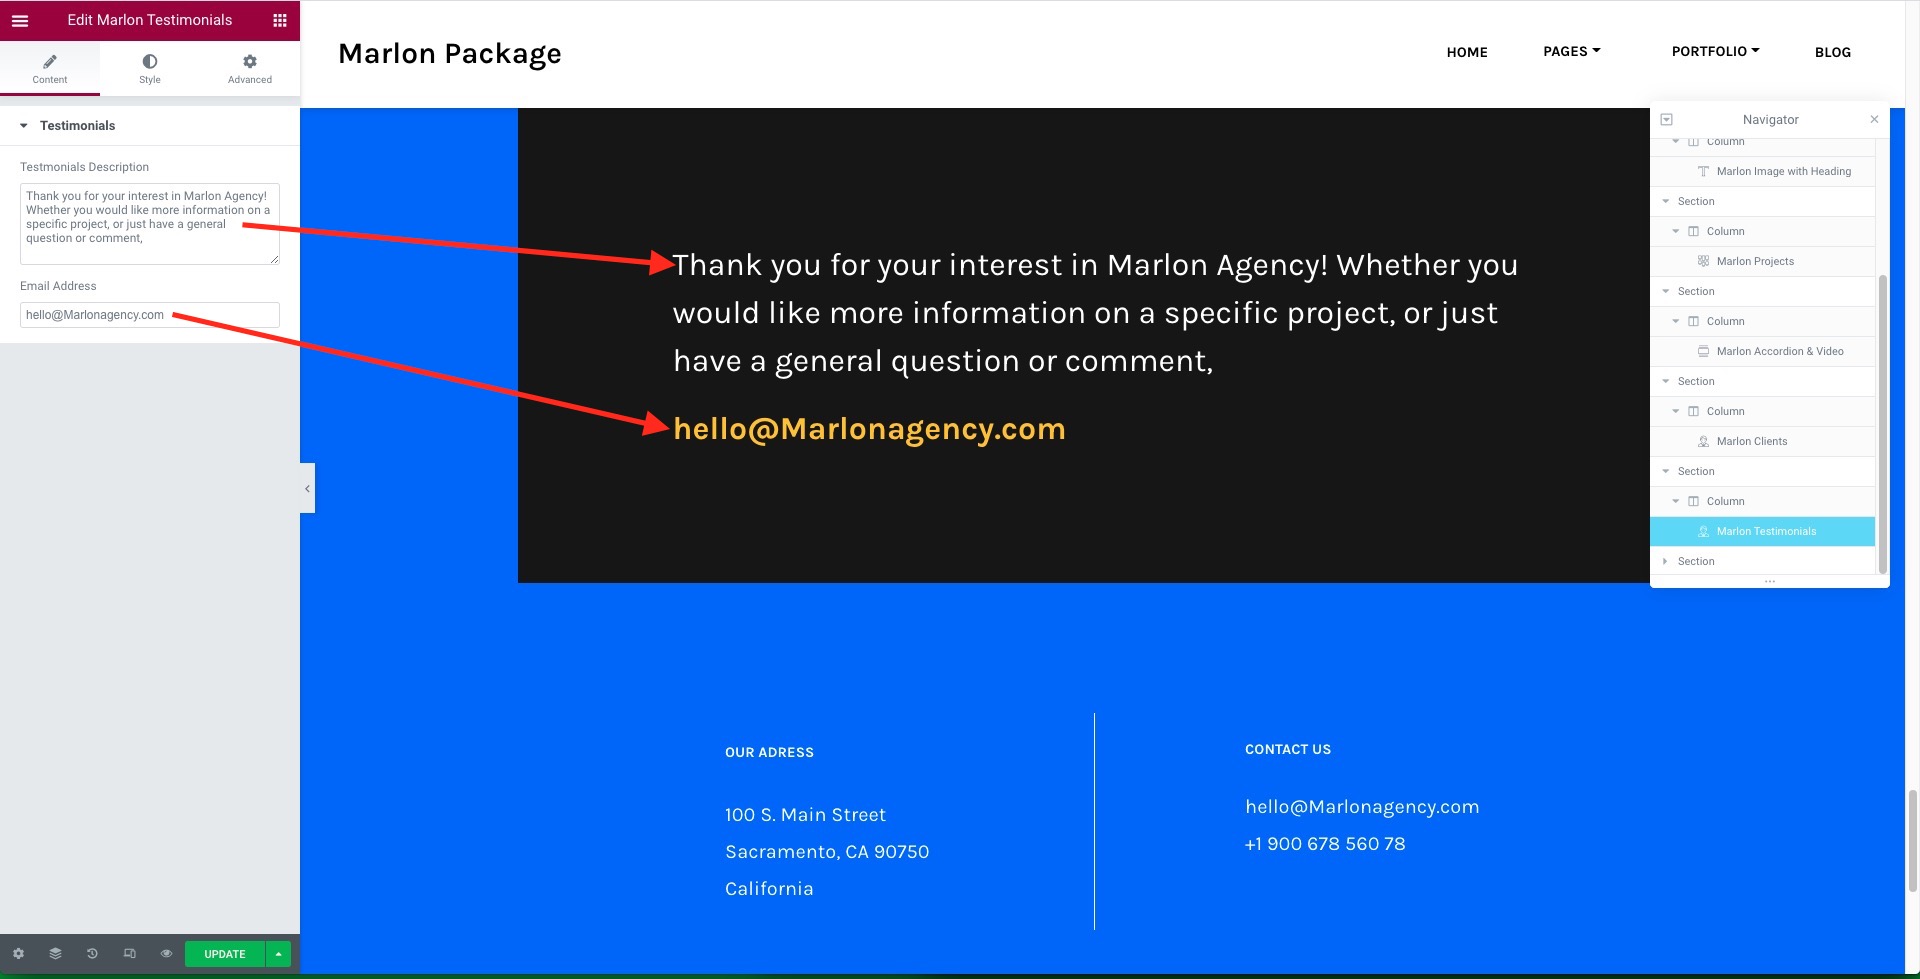
Marlon Testimonials
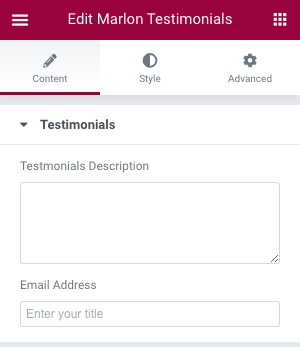
- Testimonials Description: Enter a text.
- Email Address: Enter Customer's email address.
Demo Info
You can check how elements from the Demo were created.
Home Banner
Add a banner to your Page.
Heading
Add a heading to your Page.
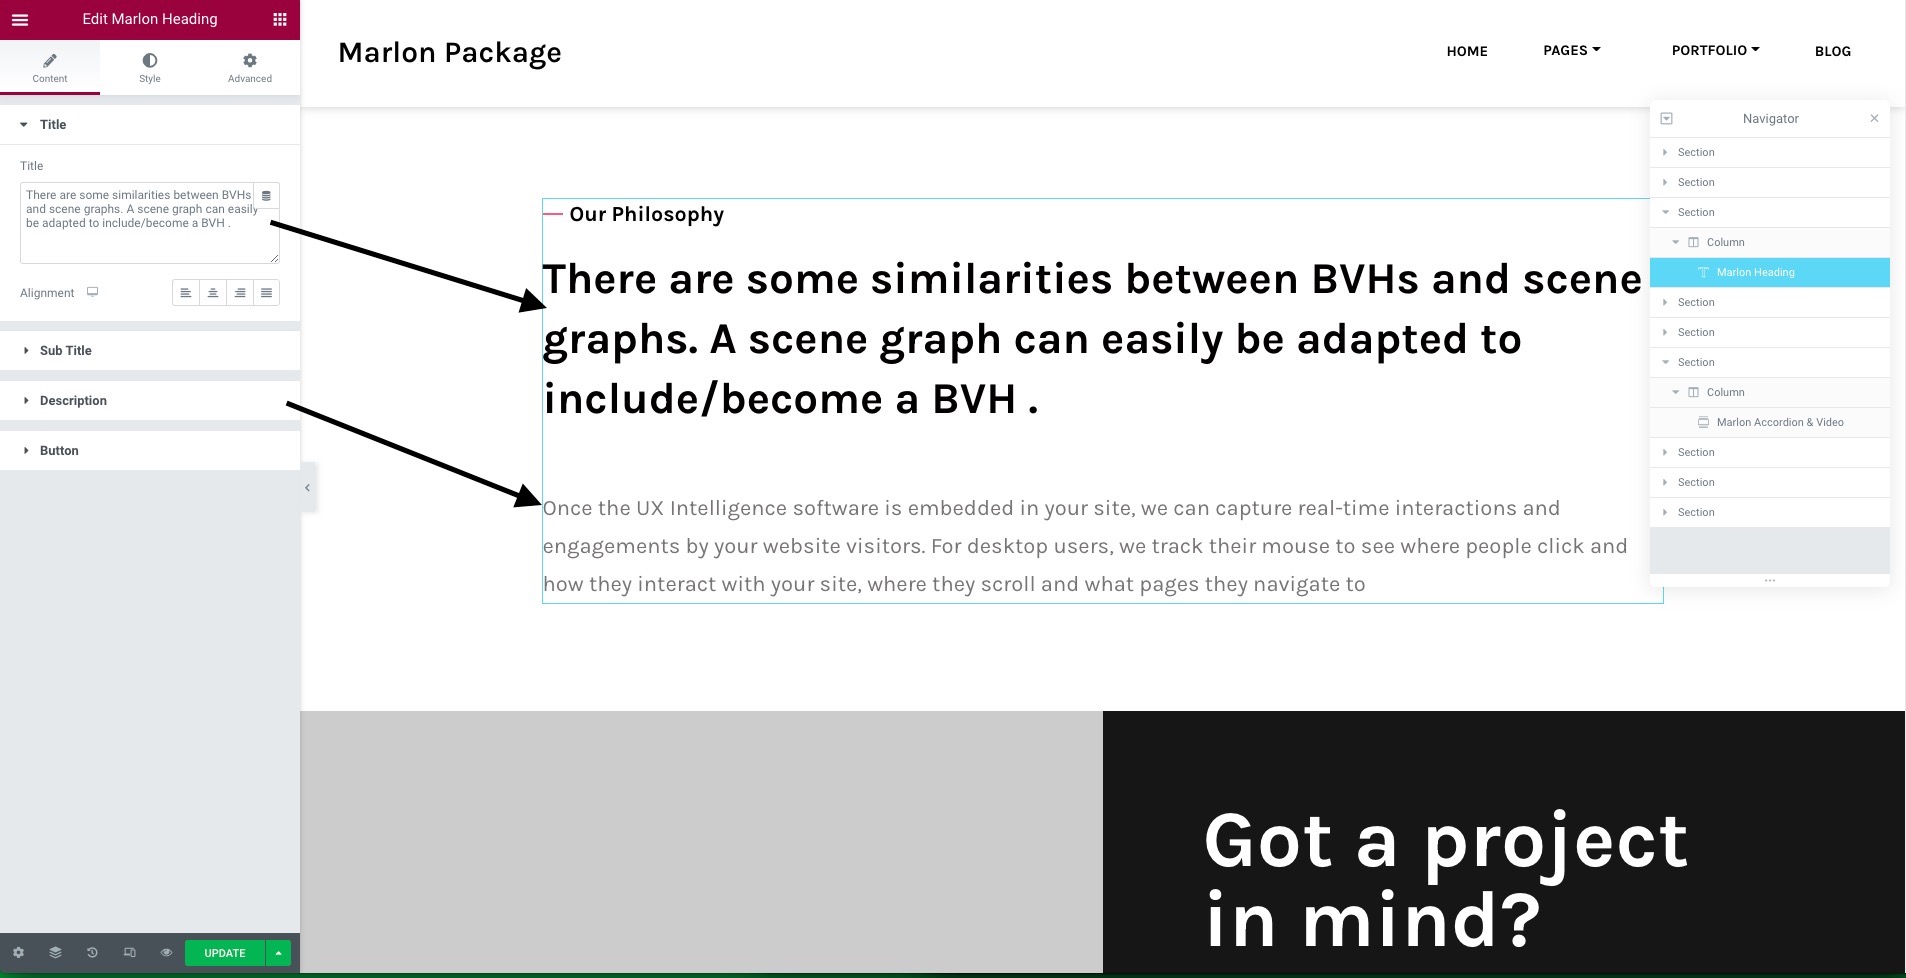
Image with Heading
Add an image with heading to your Page.
Projects
Add a projects element to your Page.
Accordion & Video
Add an accordion + video element to your Page.
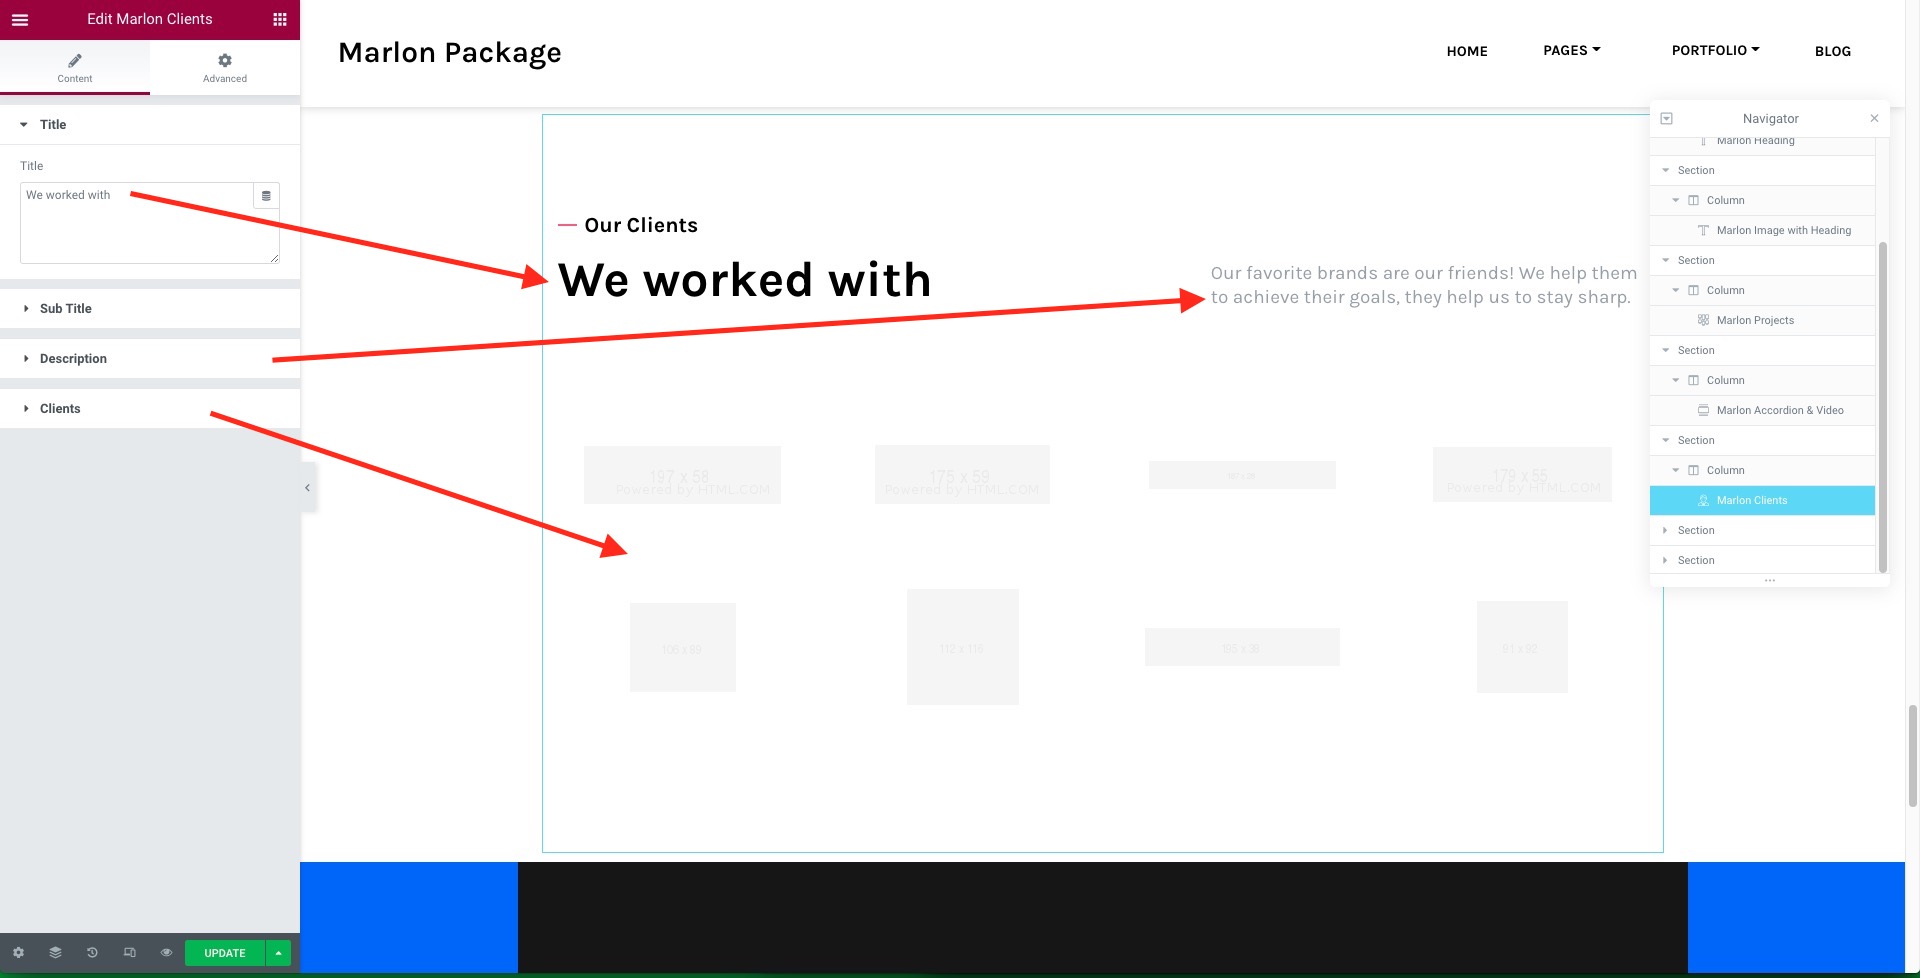
Clients
Add a clients element to your Page.
Testimonials
Add a testimonials element to your Page.
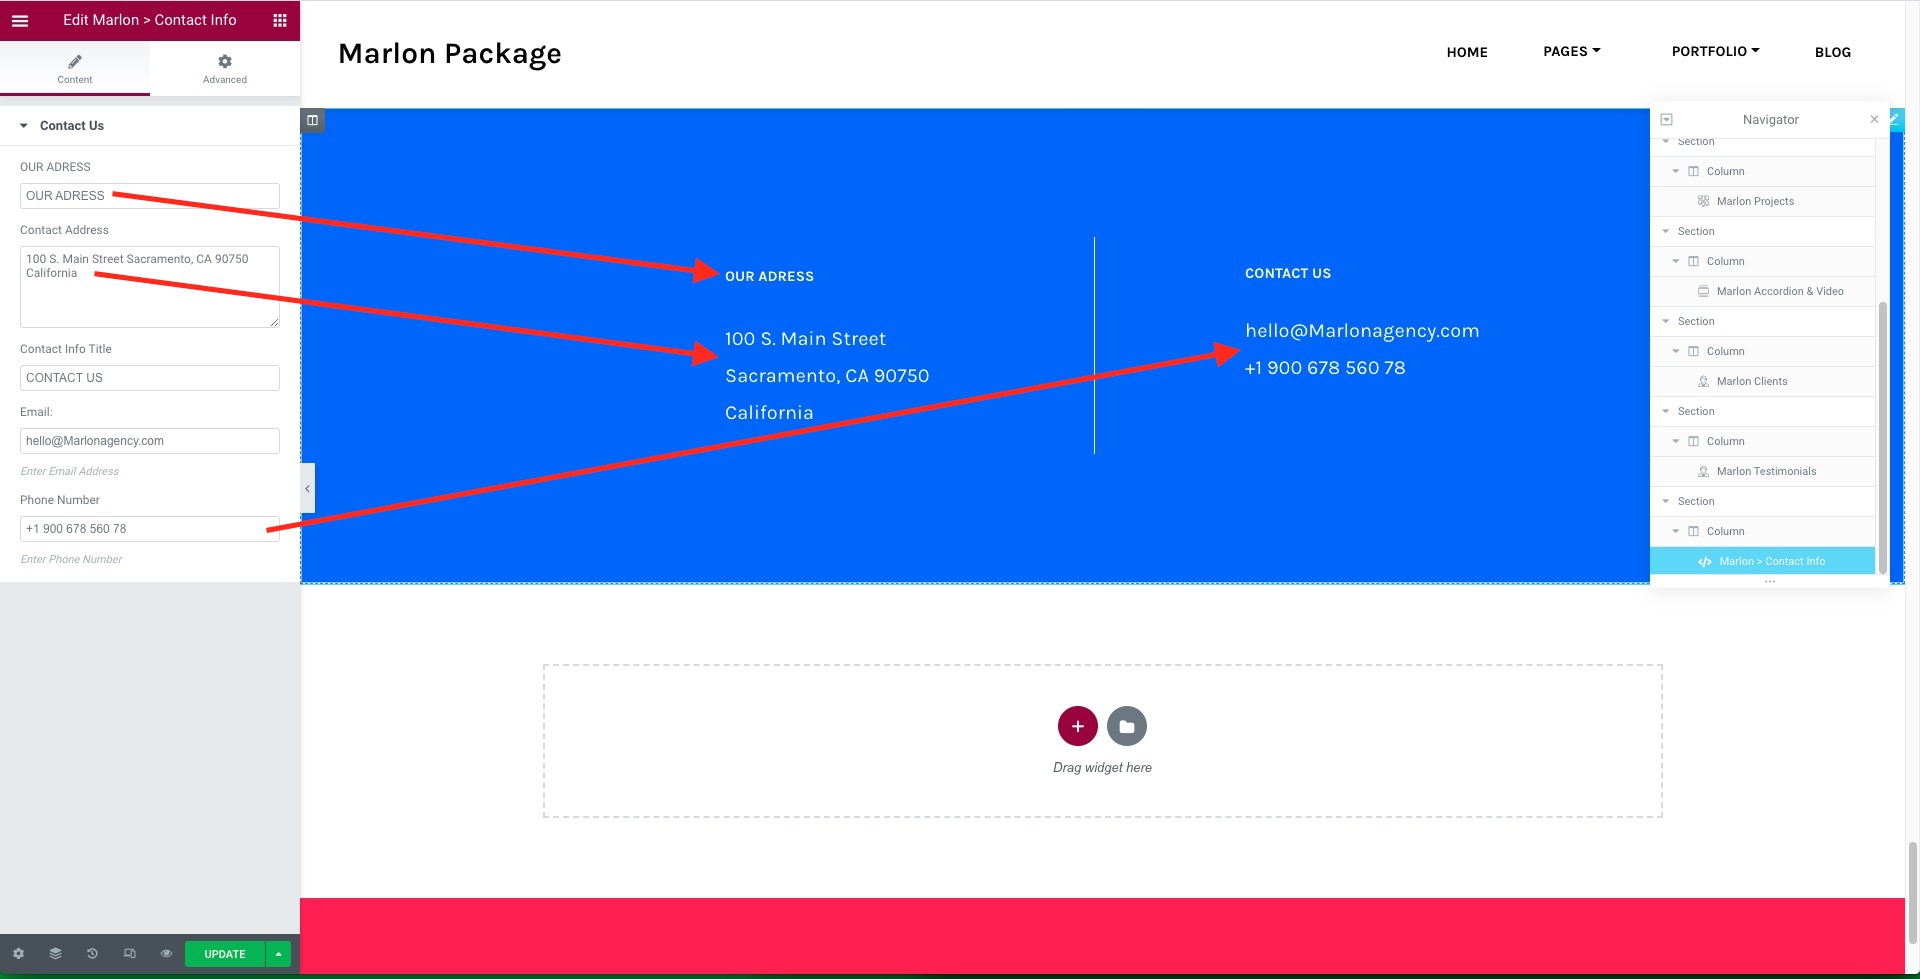
Contact Info
Add a contact form to your Page.
Team
Add a team element to your Page.
Theme Options
Go to Appearance > Customize.
Header Settings
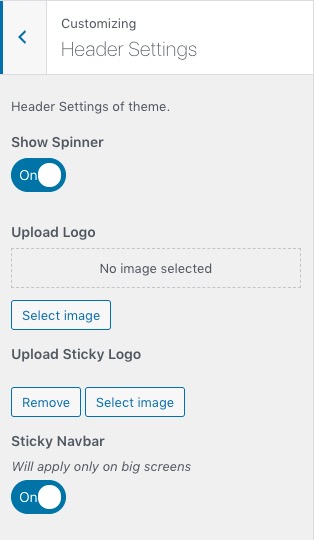
- Show Spinner: Enable Site Loader.
- Upload Logo: Upload an image to show on Navbar.
- Upload Sticky Logo: Upload an image to show on Navbar when Sticky.
- Sticky Navbar: Will apply only on big screens.
Color Settings
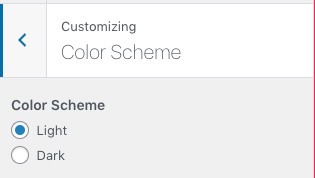
- Color Scheme: Select Light or Dark scheme.
Home Page > Blog Page Settings
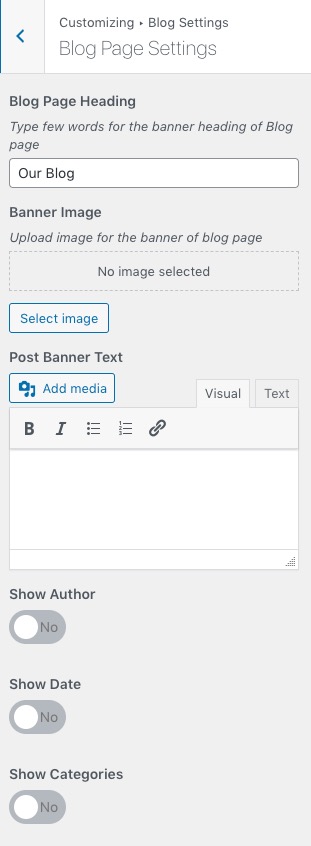
- Blog Page Heading: Type few words for the banner heading of Blog page.
- Banner Image: Upload image for the banner of blog page.
- Post Banner Text: Type the message you want to display in the banner area of post page.
- Show Author/Date/Categories: Enable Author/Date/Categories for posts.
Home Page > Sidebar
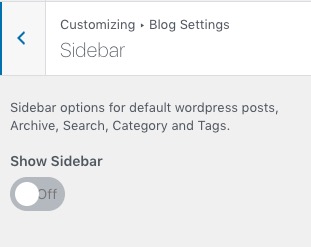
- Show Sidebar: Enable Blog Sidebar.
Home Page > Blog Single Page
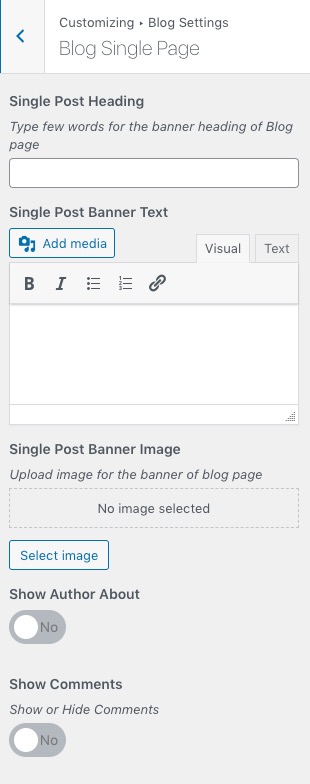
- Single Post Heading: Type few words for the banner heading of Blog page.
- Single Post Banner Text: Type the message you want to display in the banner area of post page.
- Single Post Banner Image: Upload image for the banner of blog page.
- Show Author About/Comments: Enable Author About/Comments sections.
Background Styles
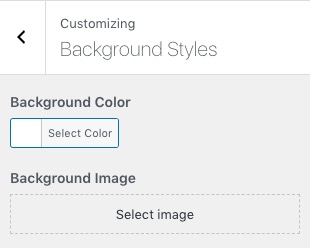
- Background Color: Choose a background color.
- Background Image: Choose a background image.
Footer Settings
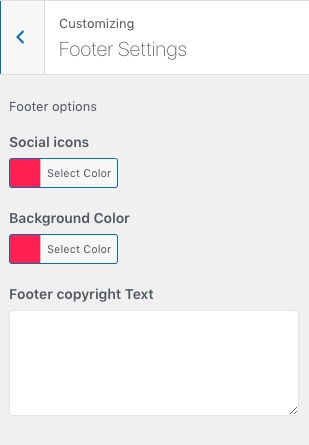
- Social icons: Choose icons color.
- Background Color: Choose a background color.
- Footer copyright Text: Type in a copyright information text.
Elementor
License
More info on Elementor's License you can find here.
Elementor's Documentation
Official documentation is available here.
Built-in Shortcodes
Our Theme can offer you 8 new custom sections. With Elementor it is very easy to create and edit content.
Start with creating a New Page and press Edit with Elementor.
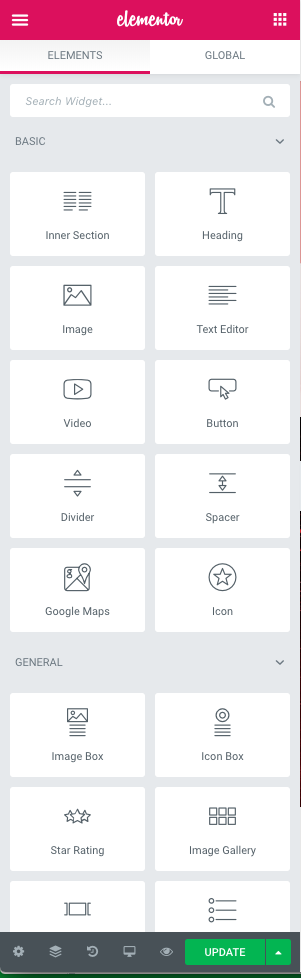
Now click on Add New Section and choose how many columns.

Now add an element.
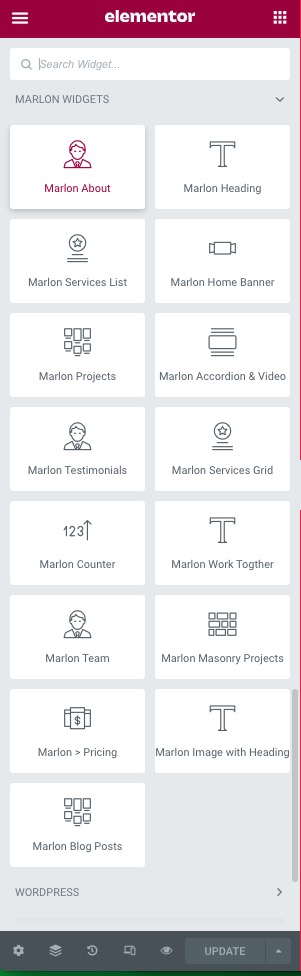
Here's the complete list of jellytheme's built-in elements.
Credits
Sources and Credits
Plugins, fonts & images that were included in this theme can be used in Commercial Product as a part of the theme.
jQuery/JS/WordPress plugins- jQuery
- Bootstrap
- Isotope
- tweenMax
- wow
- slick
- html5lightbox
- froogaloop2
- Revolution Slider
- Elementor
- Kirki
- Karla from google webfont.
Changelog
June 2021, ver. 1.0
Support
Support for all our items is conducted through our Support
Forum.
Please register an account and search the forum or create a new topic, we'll answer as soon as
possible.
We're in GMT +1 and we aim to answer all questions within 24 hours (Monday – Friday). In
some cases the waiting time can be extended to 48 hours.
Support requests sent during weekends or public holidays will be processed on next Monday or the
next business day.